SolidWorks 101: Lesson 1
I'm starting a series of lessons on beginning CAD with SolidWorks, a great 3D package that I have grown to depend on and enjoy. SolidWorks has some great tutorials within the software you can use - I started writing these tutorials as part of a one day course I taught for beginners. These are designed for use while using a copy of SolidWorks. So, without further ado, let your introduction to parametric modeling begin!
SolidWorks is a great tool, because you can sit down and learn how to do things yourself. Some other modeling programs have such a complicated workflow that it is almost necessary to have either a teacher or manual. SolidWorks is a powerful CAD package, but is presented in a format that is easy to process and understand. I encourage you to play around and learn your own workflow and explore features we may not cover here.
What to take away:
- A basic understanding of how 3D CAD works (terminology, etc) and how to leverage the tools provided to produce simple and functional models.
- “Best practices” or design methodologies to create models that are realistic in terms of constraints and manufacturing techniques
- Design intent – constraining your sketches & dimensions in ways that simplify future modification without losing the reasoning behind certain dimensions (1/2 of width d, etc)
Basic Features
Extrude Boss/Base
Extrude Cut
Sweeps
Rotational Solids
Rotational Cuts
Lofts
Sheet Metal
Fillets/Chamfers
Solidworks allows rapid model creation by allowing the use of pre-existing geometry to constrain features & sketches.
Lesson 1.1: The Interface

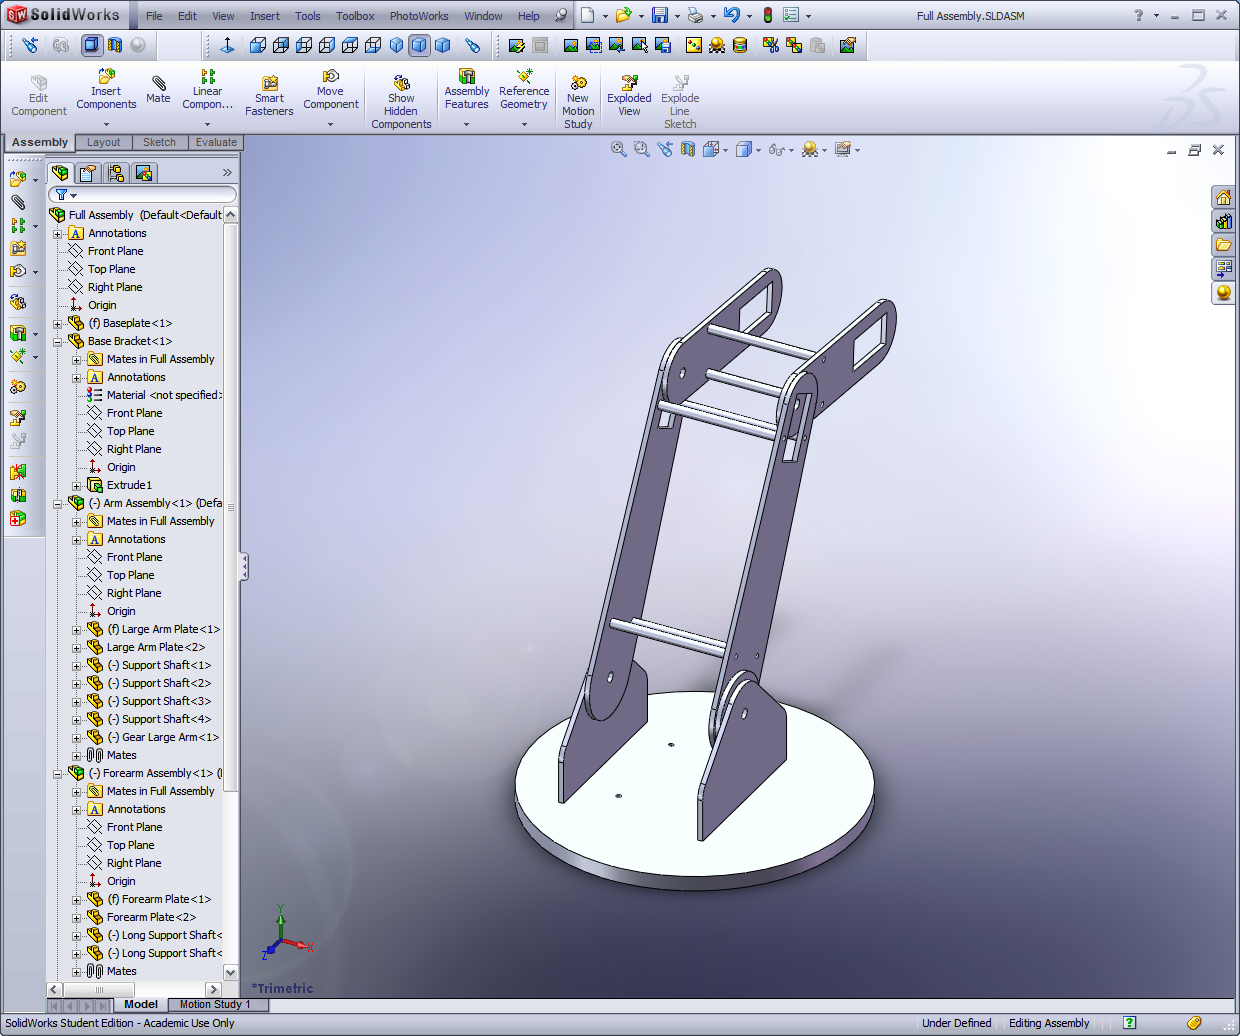
The Solidworks interface is a large window where you create and modify your design, surrounded by toolbars that enhance your interaction with the 3d model.

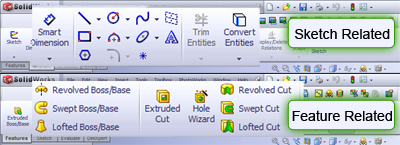
Throughout the different versions of SolidWorks the icons for different operations have remained the same. The yellowish icons are for operations called "features" -- they modify or create 3D geometries. The blue icons are sketch related operations and create 2D layouts that are used to create 3D geometries through extrusions, cuts, and rotations. You can intuit this from the well-designed buttons that either show an enclosed volume or a line segment.

**Tools you will make use of** the zoom functions and standard views are your best friends! Learn to be comfortable with them, and understand the rotation of your models. I highly recommend that you add the standard views to your toolbar if they aren't already there. Just right click anywhere on the toolbar and select "Standard Views."
Labels: CAD, CAD lesson, Parametric Modeling, SolidWorks
blog comments powered by Disqus Subscribe to DanShope.com